
by John C. Ketchen, guest contributor to Bible Lands Explorer. All images below are by Cliff McCartney.
So you’ve spent time and money to travel, and you want to bring home photographs that accurately document your experiences. In this blog, you’ll learn how to “bump your photography up a notch.” It assumes you have a camera—anywhere from your cell phone to a high end digital single lens reflex (DSLR). It also assumes you know how to use your equipment. If not, you need to learn to use your equipment before you leave for your trip. Remember, you have to carry the equipment you take with you, so consider traveling light. Shooting with a digital camera typically makes traveling easier than film cameras.
So what can you do to bring home great photographic images that truly capture your travel experiences? Four techniques stand out helpful. You can remember them by thinking C.E.L.L. as you look at your phone display screen or camera viewfinder.
Composition
Exposure
Light
Location
Let’s consider each of these four elements of C.E.L.L. in a little more detail.
Composition
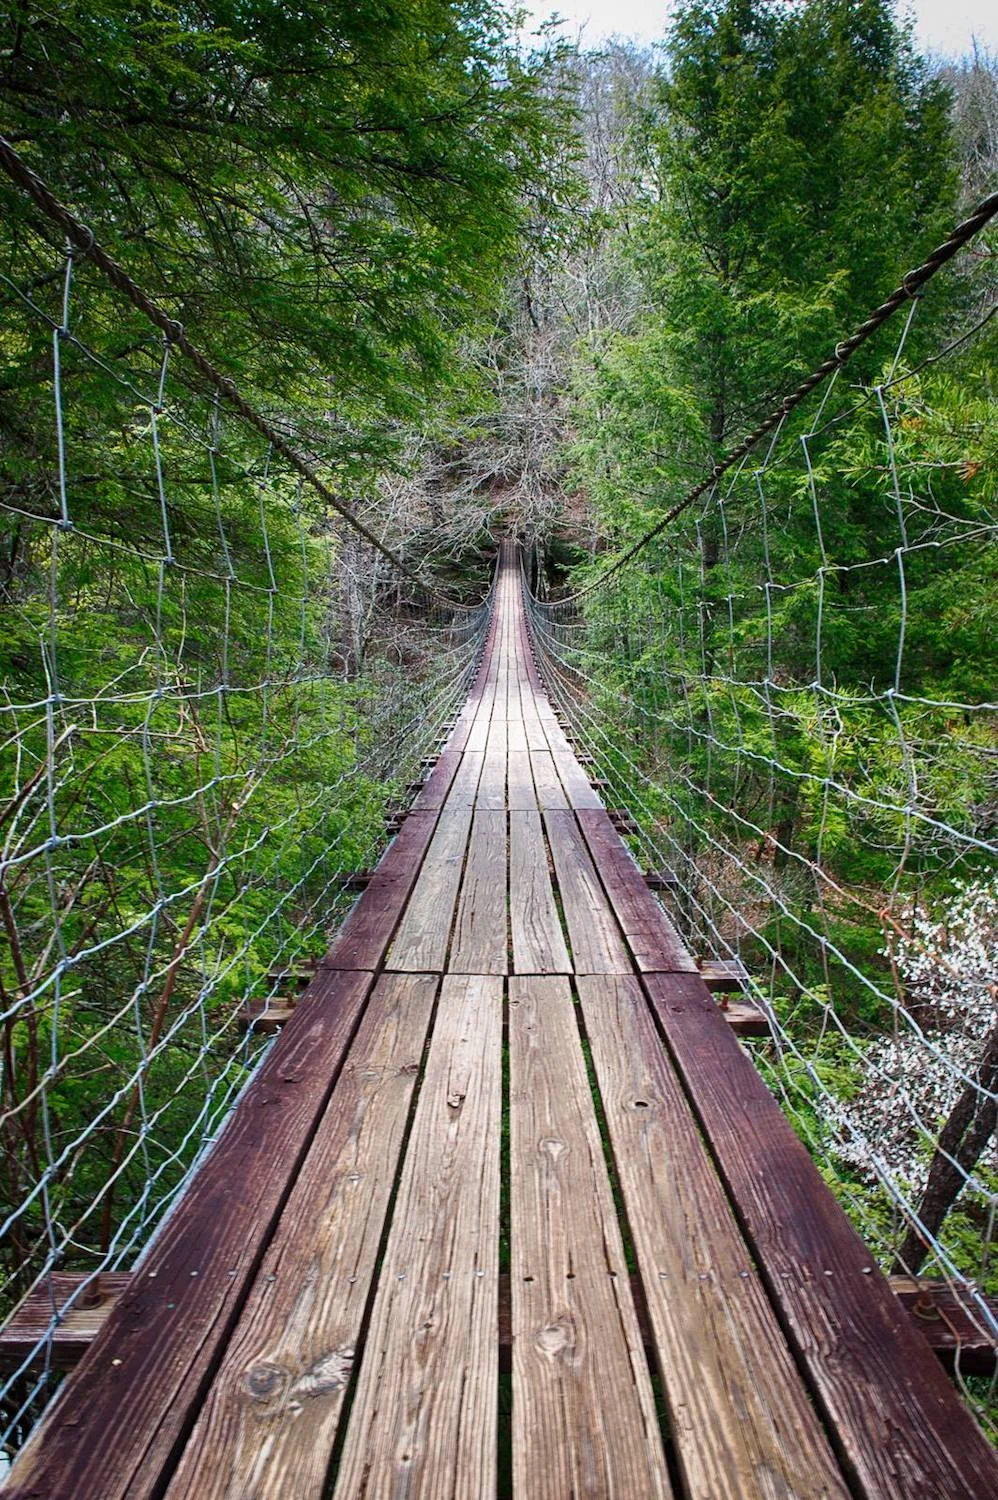
You want to compose a compelling and pleasing photograph of your subject for your viewers. Walk around looking for the best angle to capture your subject. You’ll likely find some views better than others. Moving around also allows you to overlap objects (buildings, trees, people, etc.) in the photograph helping create depth. Many people automatically frame every photograph horizontally. Keep in mind that some subjects look better framed horizontally, while others appear better taken vertically. Simply turn your phone/camera to a vertical position and take your picture for vertically oriented subjects—like people and tall structures.
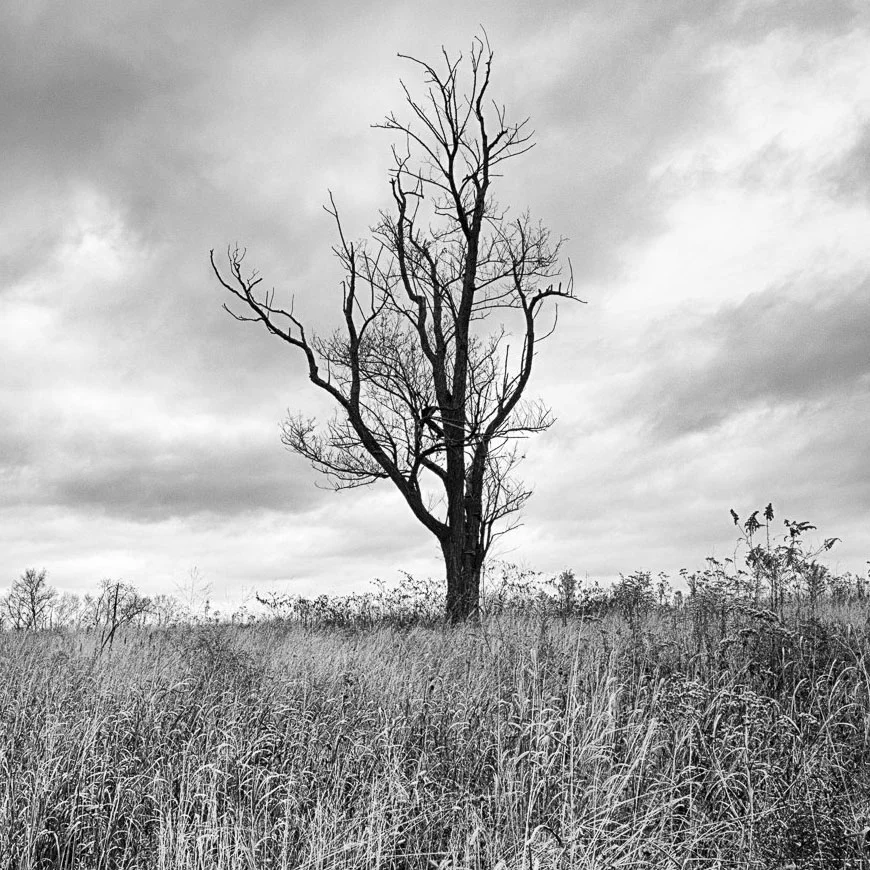
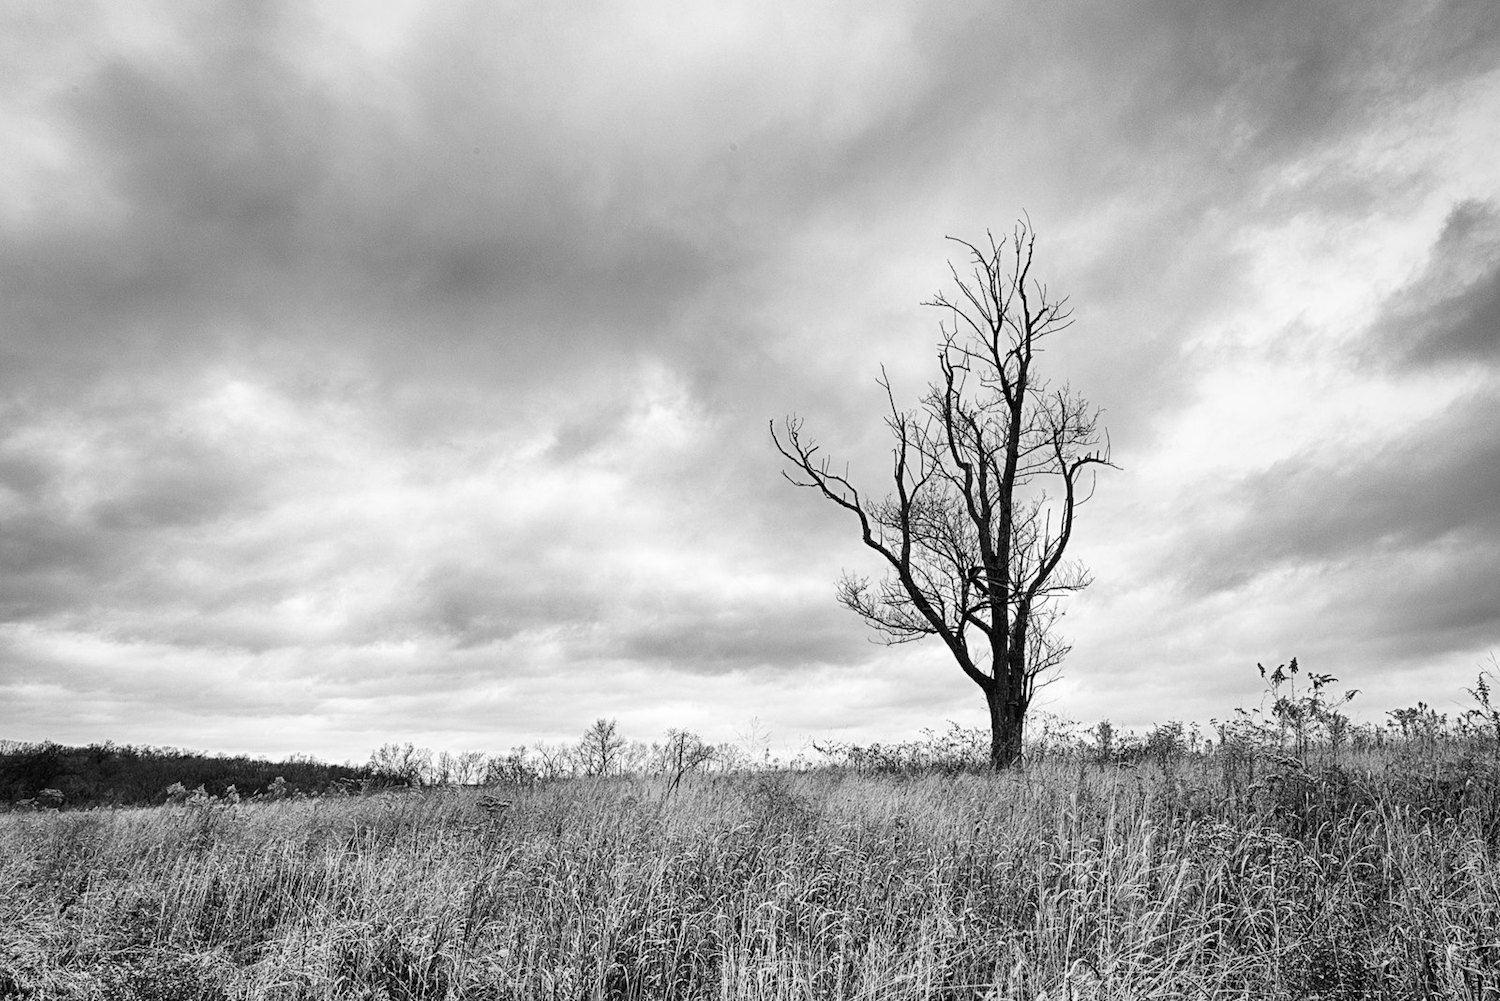
Another decision concerns how to place the subject(s) in your camera. The “rule of thirds” provides perhaps the most pleasing way to place and balance the subject in your frame.
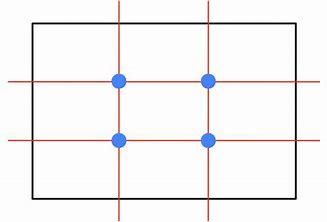
"Rule of Thirds" grid.
Instead of framing your subject in the middle of the picture (first image below), try placing the subject along one or more lines in the grid or better yet at one or more of the four intersection points in the grid (second image below). Many cameras including cell phones allow you to set a “rule of thirds” grid in the finder.
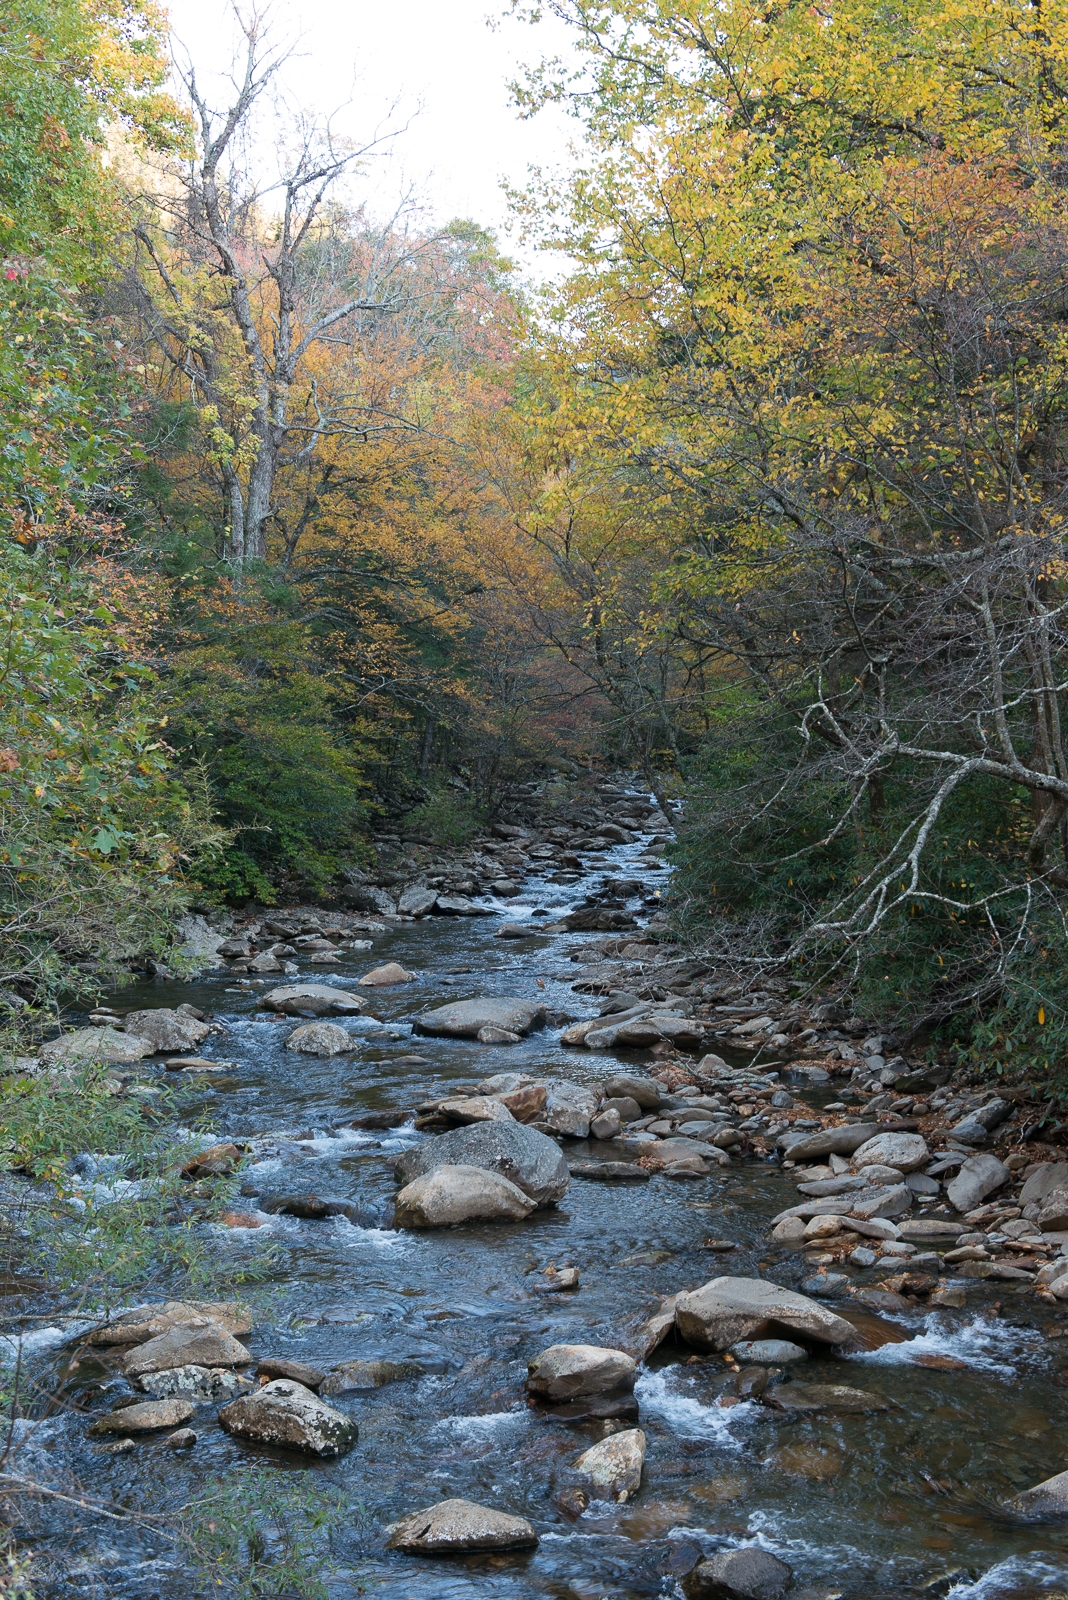
Another compositional technique called leading line helps guide your viewers’ eyes into the photograph. Straight railroad tracks and S-curves provide visual leading lines.

Exposure
You want your photograph to have the “correct” exposure (light, middle, & dark) for everything in the image you want your viewer to see. Deciding on the perfect exposure to achieve that goal can get complex quickly, but there’s good news. Many modern cameras including cell phone cameras allow you to take photographs using HDR (or HDRI). By all means use it since most of the time it gives you the best overall exposures with the least effort.

HDR stands for High-Dynamic-Range meaning the camera takes a series of photos and chooses the best exposure from each image and combines the best exposures. You will want a memory card with a lot of memory. Check your cell phone or camera instructions for activating HDR and then use it. If your camera does not have HDR capabilities, you can achieve the same results using Photoshop or other image manipulation computer programs. Just google “How to take HDR photographs.”
Light
You can create depth and dramatic effect with light and shadow in your photographs. That is, you can carve out the elements in your photograph with light and shadow. Before you take your photograph, move around your subject and watch for dramatic change in the relationship of the light and shadow areas.

Sometimes you have no choice but to photograph in the middle of the day with overhead illumination from the sun. However, if you have a choice, early morning light and late afternoon/evening light typically provide more options with dramatic, directional light effects. Morning and late afternoon/evening light also create warmer light effects. Move around and observe changes in the light direction and color and then choose what you find most pleasing.
Location
In framing your photograph and deciding what to include and exclude, consider that in travel photography you want to provide your viewers with clues about the context of your image. Remember three P’s: place, people, and parties.

Include enough features in your photograph to identify the place. You might also want to include people—either people with whom you travel or local people (be careful and sensitive with including local people). You might also think about parties or other occurrences—action going on at the sites you photograph. Sometimes your photographic goal might focus more on what’s going on than about the place in which it appears. Consider what to include in your photograph to accomplish your goal in taking the photograph.
In short, you increase your odds of documenting your travels with dynamic, memorable photographs by intentionally applying C.E.L.L. As you begin thinking C.E.L.L, you may never be satisfied with your old “point and shoot picture taking.” So think C.E.L.L. and then take your photograph. Bump up your travel photography a notch or two!

John’s goal is to learn something new every day. Part of his energy is given to developing the program for online education on the campus of Johnson University.
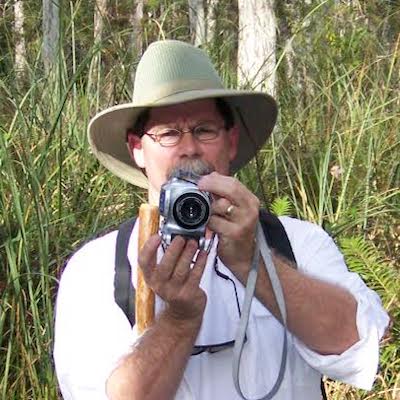
Cliff loves life. When he is not doing photography or playing guitar he explores the use of technology on the campus of Johnson University.